Create a lens
Write a brief, or paste one from the sample lenses, and save it as a lens you can run any time.
-
Start a new lens
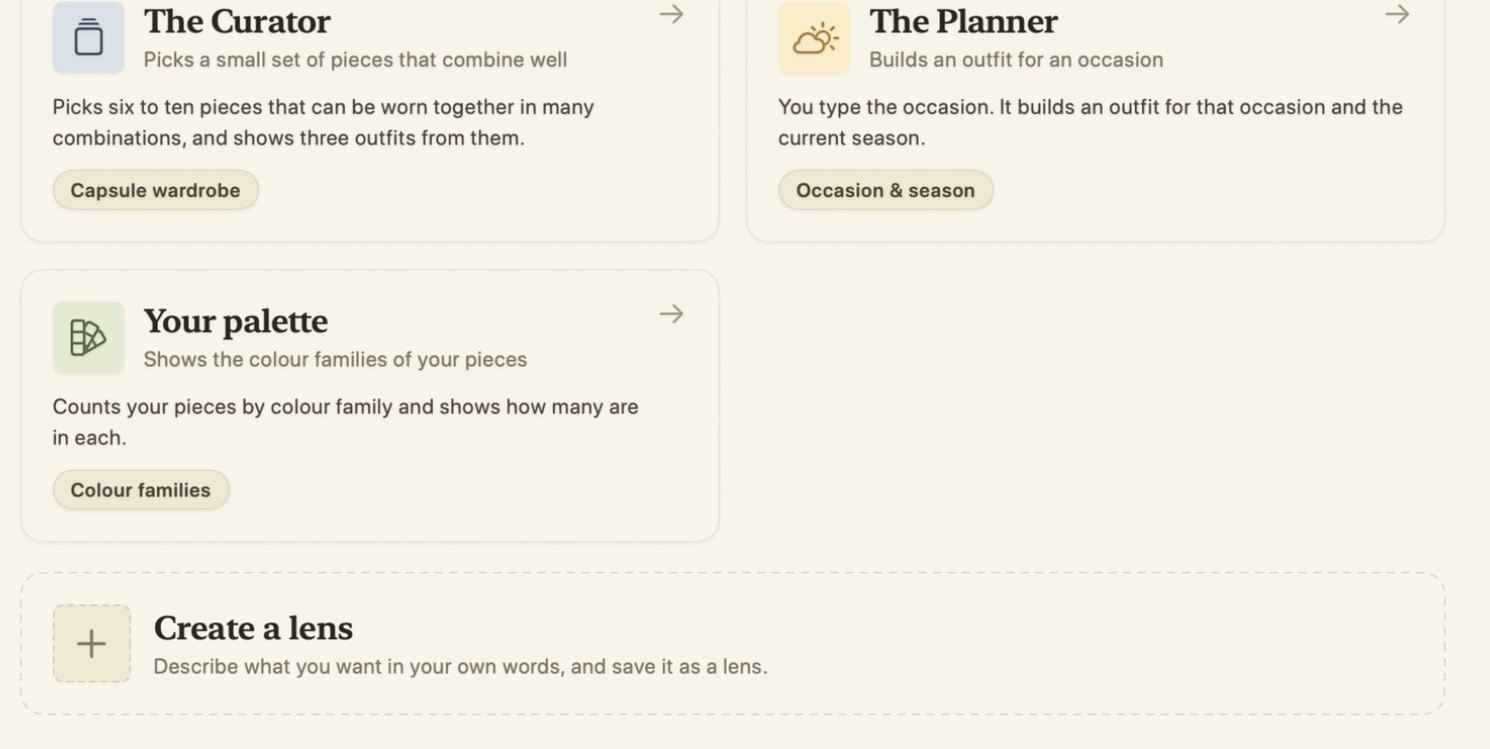
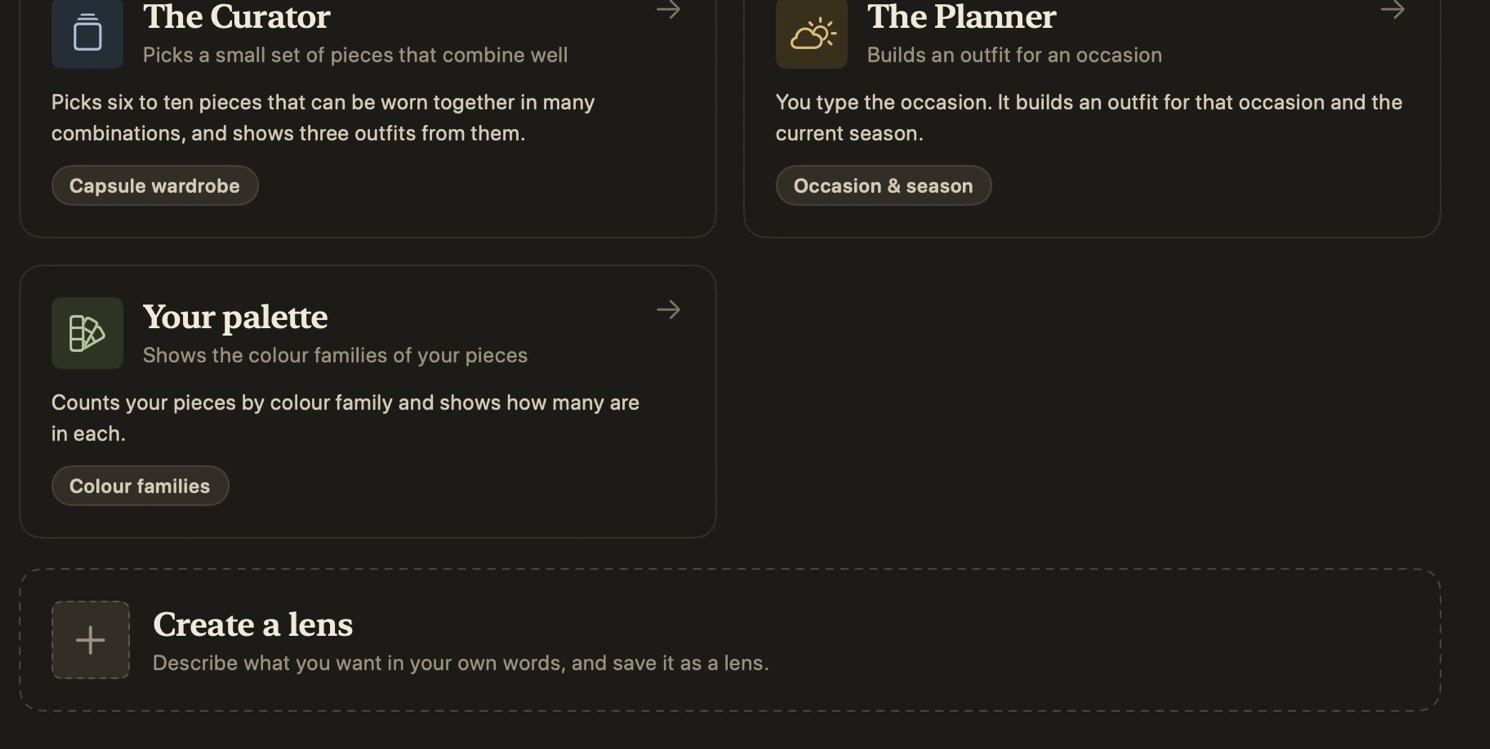
Open Lenses and click Create a lens below the list of lenses, or the + button at the top right.
-
Describe it
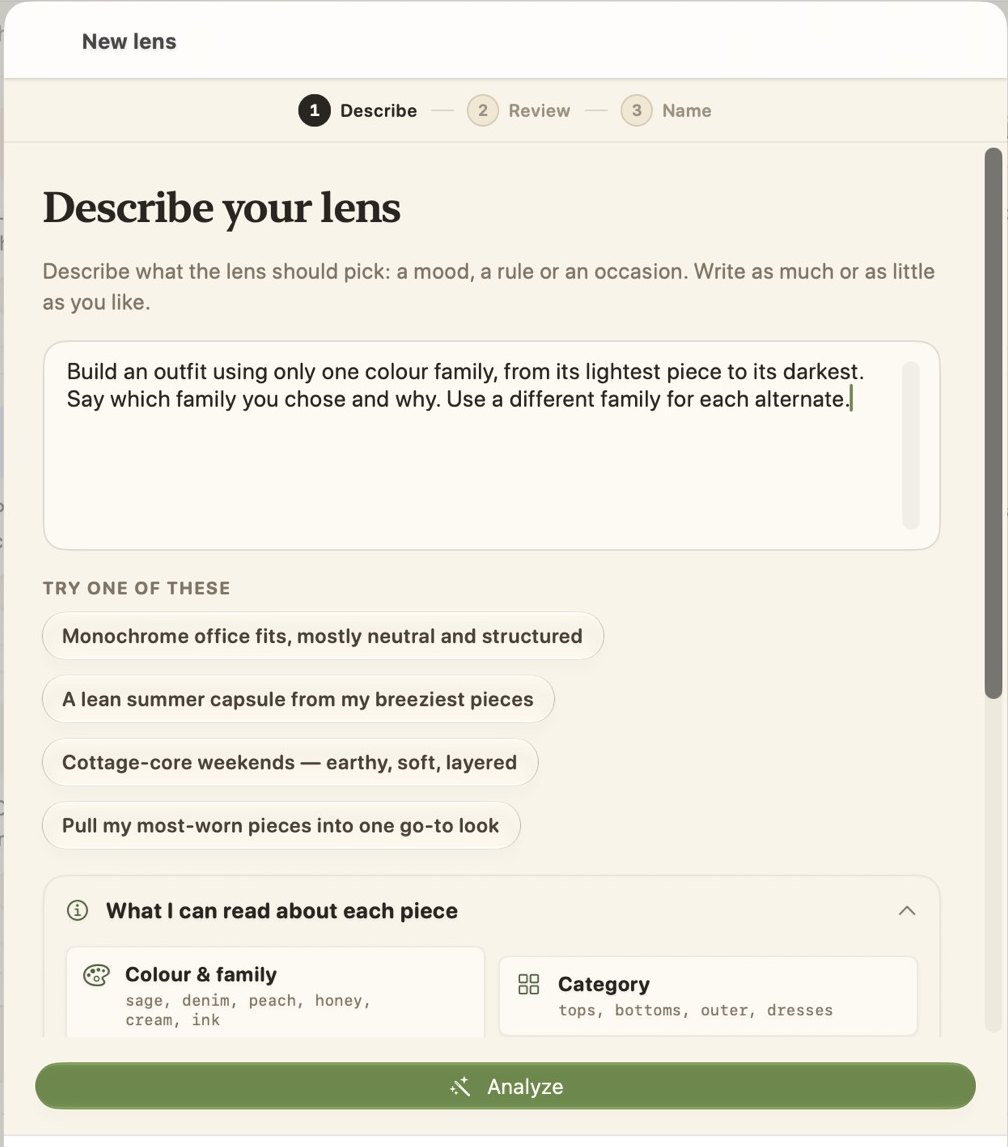
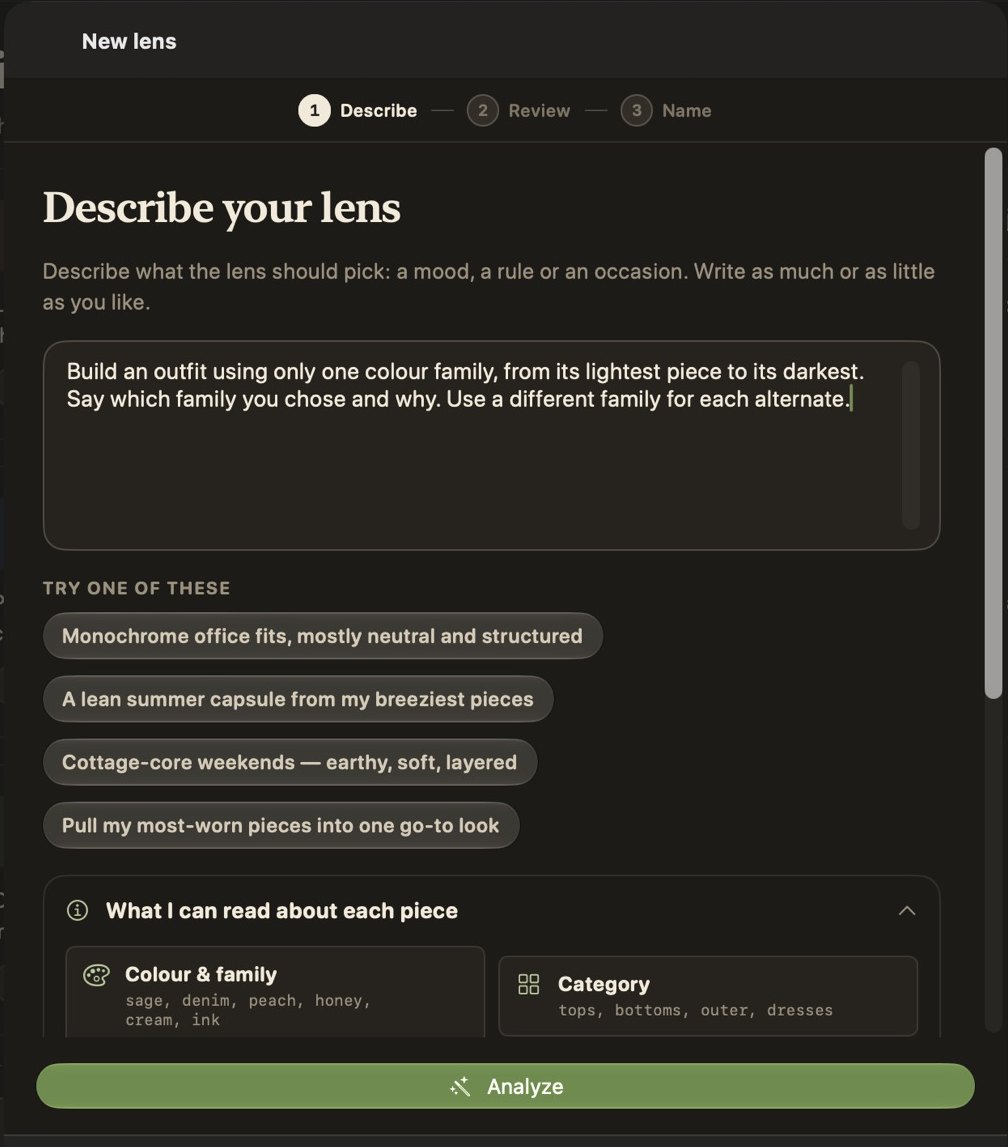
Under Describe your lens, type what the lens should do, or paste a brief copied from Sample lenses. You can also click one of the examples under Try one of these.
The panel What I can read about each piece lists the fields a lens can use. Writing a brief covers this in detail.
-
Analyze it
Click Analyze. The app checks your brief against the data it holds.
-
Review how it was read
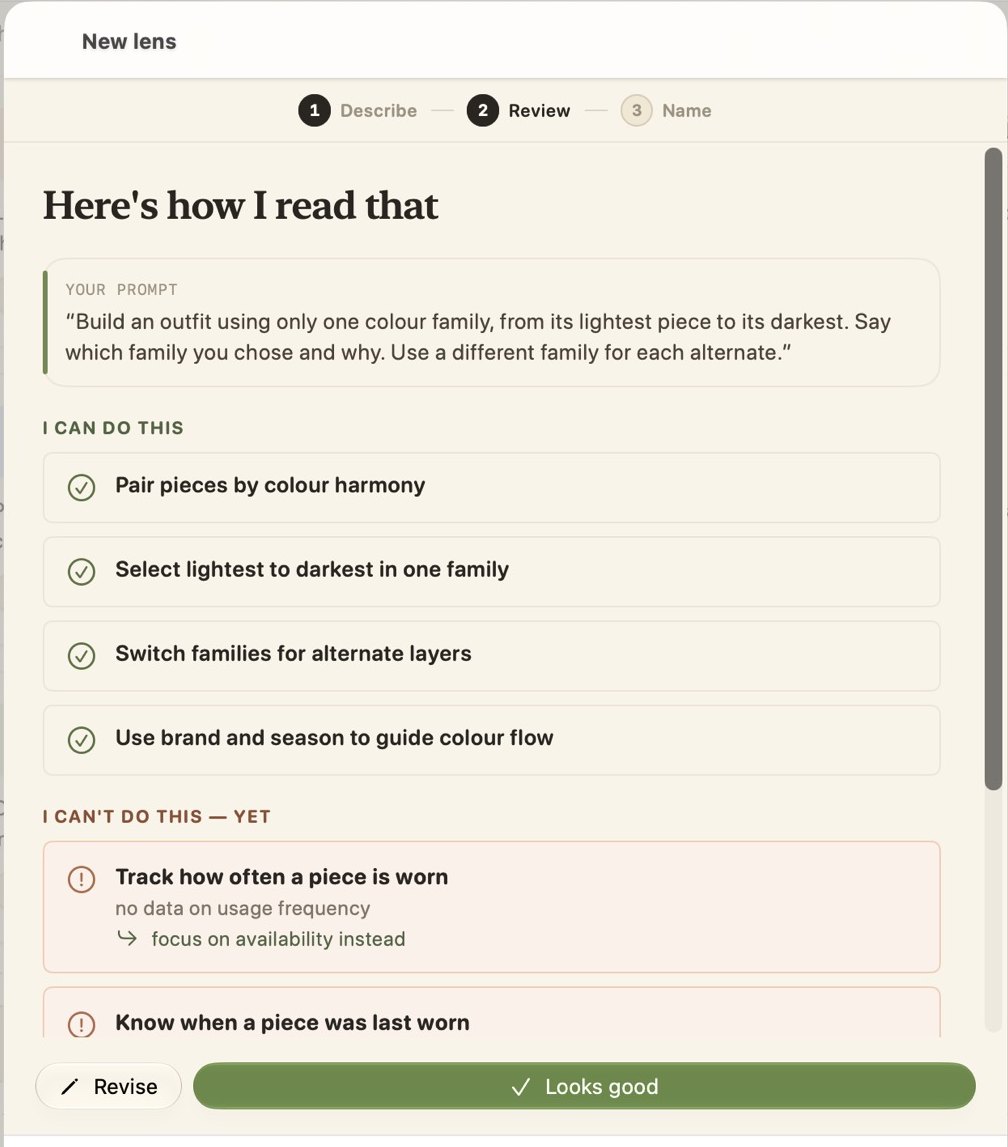
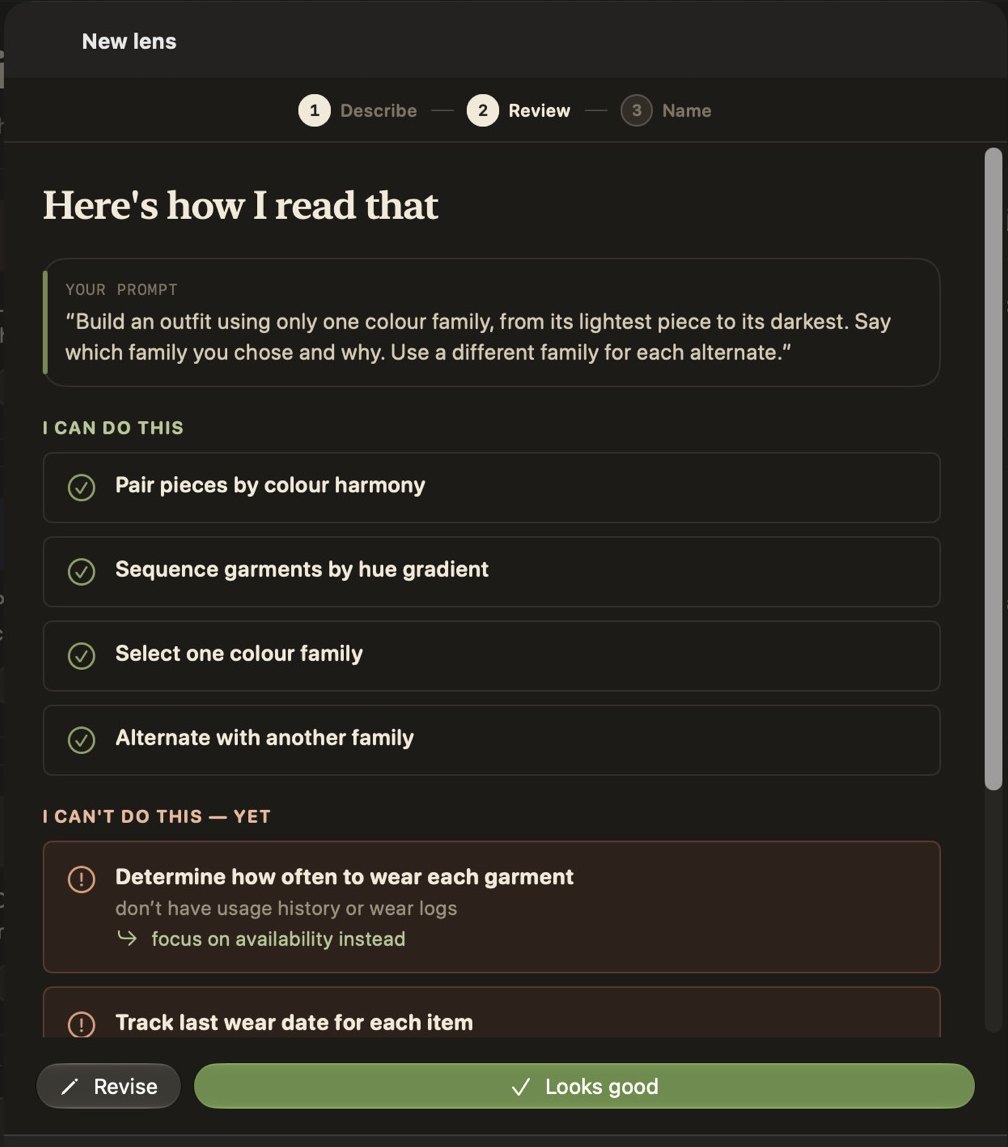
The screen Here's how I read that shows three things:
- I can do this: the parts of your brief the lens can do.
- I can't do this — yet: parts that need data the app does not hold, each with a suggestion.
- Result shape: whether the lens returns a look, an edit or a capsule.
Click Revise to change the brief, or Looks good to continue.
-
Name it
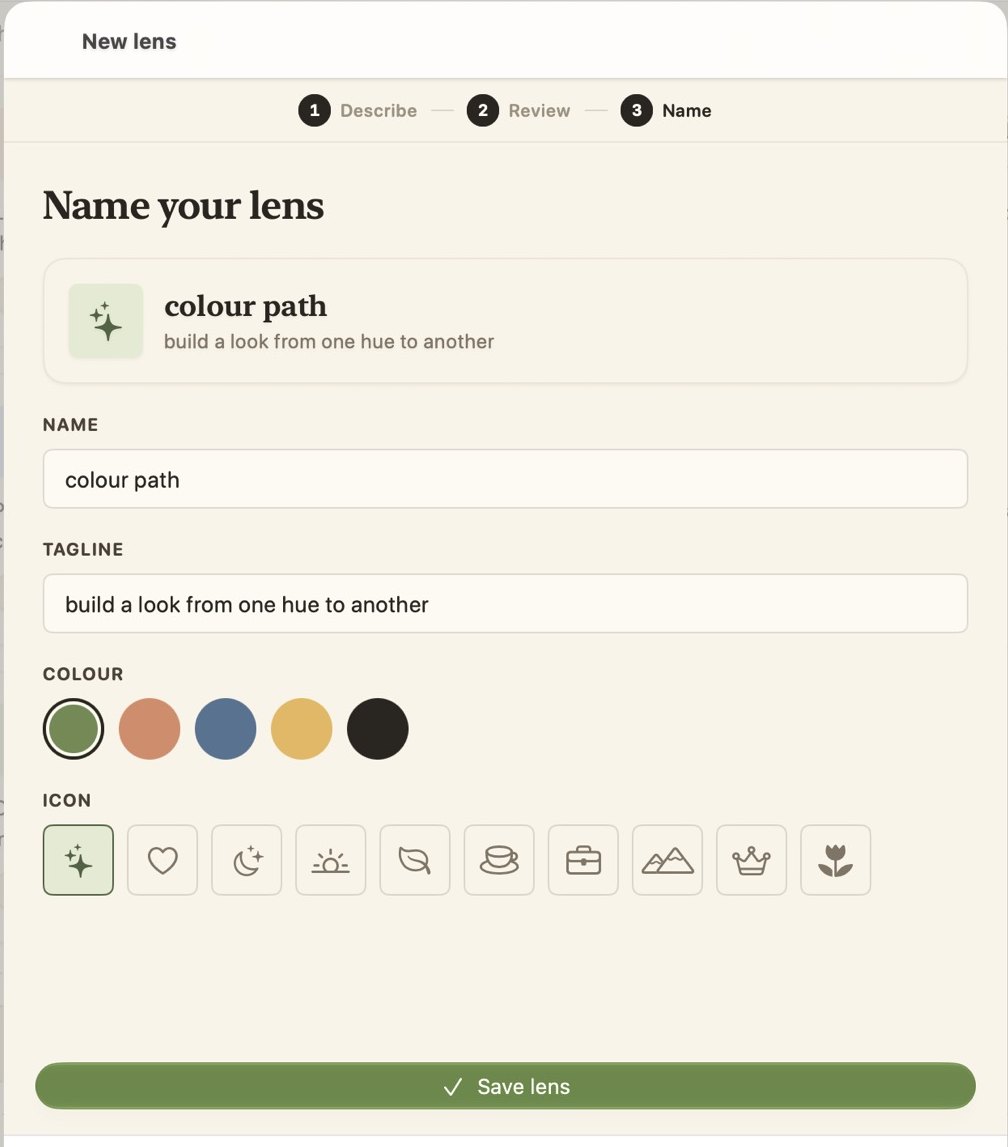
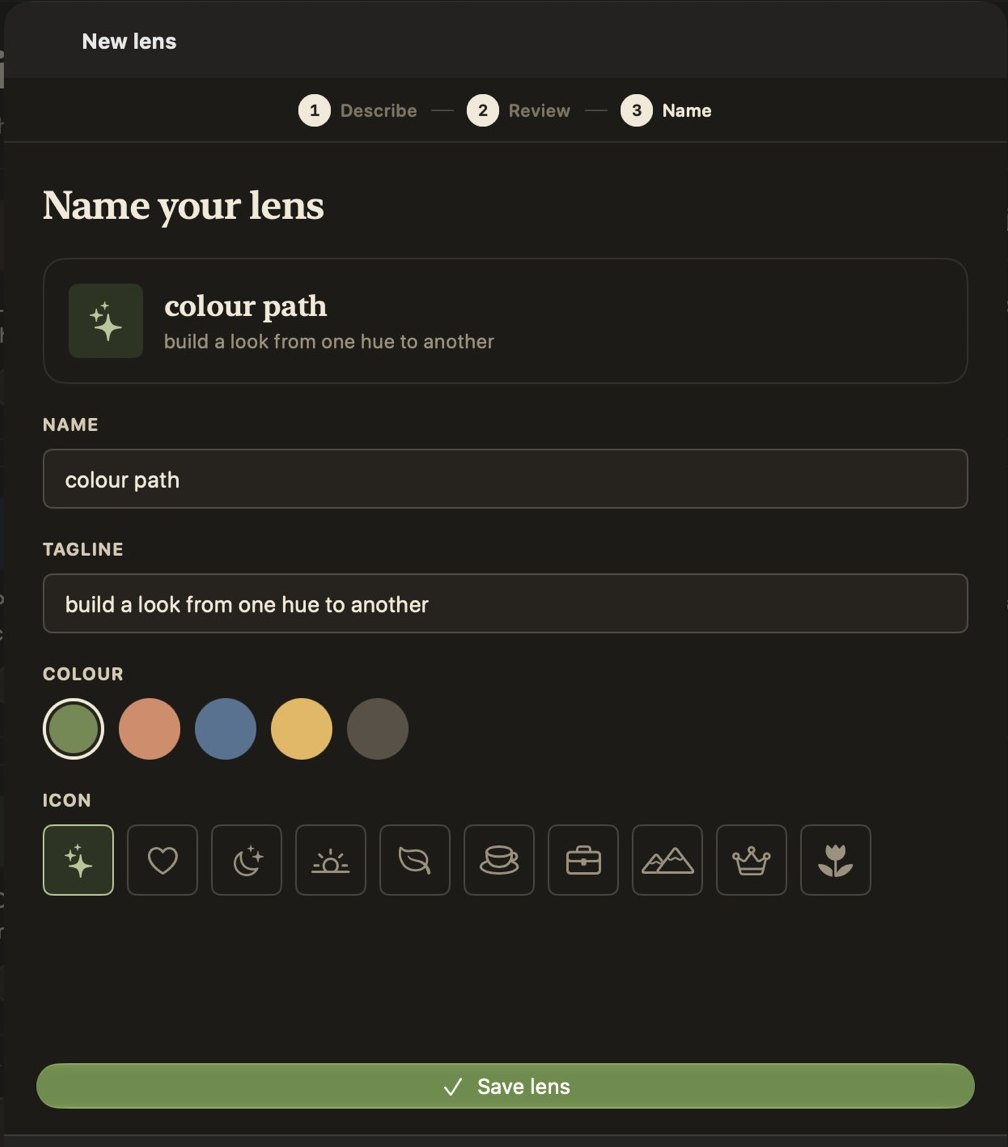
The app suggests a name and a tagline. Change them if you like, choose a colour and an icon, then click Save lens.
-
Run it
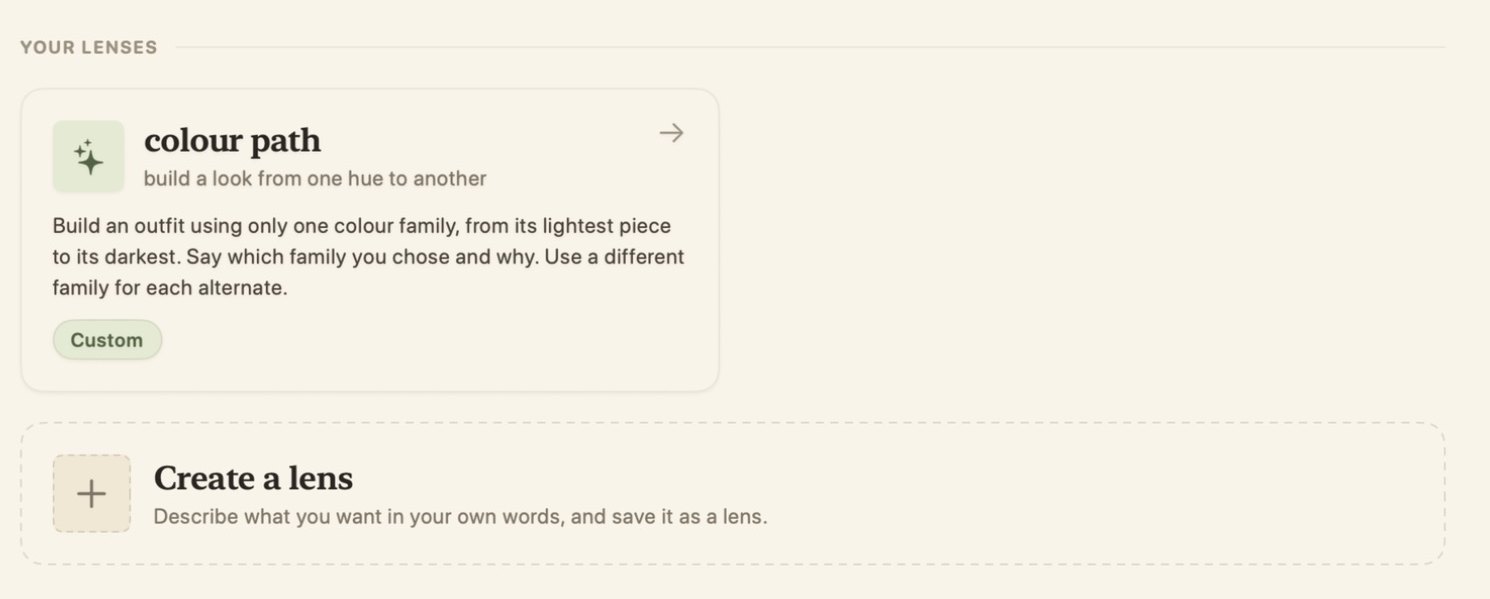
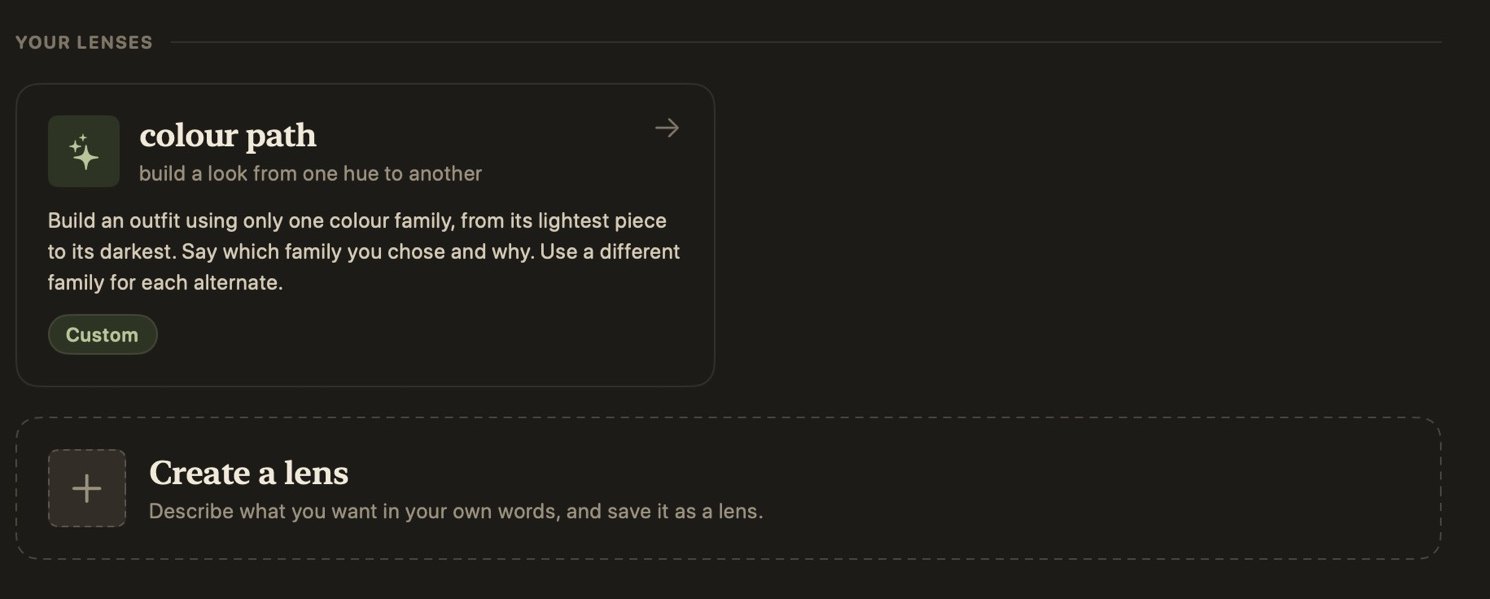
Click Try it now to run the lens straight away, or Back to lenses. The lens is listed under Your lenses.
Change or delete a lens
You cannot edit a saved lens. To change it, open the lens, click Delete lens, and create it again with the new wording. Deleting a lens also deletes its saved result. It does not change your pieces.
If the result shape is wrong
Click Revise and state the shape at the start of the brief. See Three result shapes.